Build a Beginner Cybersecurity Home Lab (Cheap, Legal, Portfolio-Friendly)
Updated on February 24, 2026 13 minutes read
Breaking into cybersecurity can feel like a catch-22. Job posts ask for hands-on experience, but you can't get experience without a job. A beginner cybersecurity home lab solves that problem by giving you a safe place to practice. You can learn networking, operating systems, and security tools without touching anything you don't own.
The best part is you don't need expensive gear. With a laptop and free software, you can build a lab that's cheap, legal, and portfolio-friendly. This guide is for adults who are career-switching, upskilling, or thinking about an online bootcamp. You'll get a clear setup path, practical exercises, and ideas that translate into real interview stories.
The one thing you must get right: legality and safety
Cybersecurity learning is only valuable if it's ethical. A home lab keeps you on the right side of the law by limiting your practice to systems you control. Only test machines you own, or systems where you have explicit written permission. Scanning random sites, neighbors' Wi-Fi, public IP ranges, or workplace networks is not "practice."
Your lab should be isolated from your personal life. That means your vulnerable machines should not sit on the same network as your phone, smart TV, or family laptop. If you do one thing today, do this: make sure your lab network is private. Isolation is what makes your learning safe, repeatable, and professionally credible.
What a cybersecurity home lab is (and what it isn't)
A home lab is a small environment where you can build "mini-companies" on your computer. You run normal machines, vulnerable training targets, and tools that help you observe and defend. A home lab is not a shortcut to "hacking." The point is learning how systems work, how attacks leave evidence, and how defenders detect and respond.
Think of it like a flight simulator for security. You can crash, reset, and try again without hurting anyone. That reset ability is powerful for beginners. It's how you gain confidence faster than by reading alone.
Why this matters for career changers
Hiring teams want proof you can do the basics under realistic conditions. A home lab produces that proof through screenshots, write-ups, and simple projects. It also gives you something to talk about in interviews. Instead of "I watched a course," you can say "I built a lab, collected logs, and investigated an alert."
You don't need to be an expert to benefit. Even small wins, like setting up logging correctly, are meaningful in entry-level roles. Most importantly, a lab helps you build momentum. Momentum is what keeps career changers moving when learning gets hard.
Choose a goal first (so you don't install everything)
Beginners often waste time installing every tool they see on YouTube. It feels productive, but it delays real learning. Pick one direction for your first 30 days. Your lab will be smaller, clearer, and more portfolio-friendly.
If you're aiming for SOC / Security Analyst
Build for visibility and investigation. Prioritize logs, alerts, timelines, and short incident reports.
If you're aiming for Ethical Hacking / Pentesting
Build for safe testing. Prioritize vulnerable targets, web app practice, and clean write-ups of findings and fixes.
If you're aiming for Cloud / DevSecOps
Build for configuration and hardening. Prioritize secure settings, simple automation, and documenting "secure by default" choices. You can evolve your lab later. A focused lab is how you finish projects instead of collecting unfinished setups.
Budget-friendly lab tiers (start where you are)
You can build a capable lab at multiple budget levels. The "best" tier is the one you can start this week.
Tier 0: Laptop-only lab (often $0)
This is the fastest way to start. You'll run 2-3 virtual machines on your existing computer. If you have 8 GB RAM, run fewer VMs at once. If you have 16 GB or more, you'll have a smoother experience. Storage matters more than people expect. Try to keep at least 80-120 GB free, so your VMs don't choke your system.
Tier 1: Used mini PC (roughly 150 USD, 350 USD, or local equivalent)

A refurbished mini PC can run your lab separately from your daily life. This is helpful if you want multiple VMs and fewer slowdowns. Look for upgradeable RAM and an SSD. A small box with 16-32 GB RAM can run a surprising number of practice machines. This tier is ideal if you want to build SOC-style logging or keep your lab always available. It also makes your setup feel more "real."
Tier 2: Add basic network separation (roughly 30 USD -120 USD, or local equivalent)
You can add a second router, a managed switch, or a dedicated lab Wi-Fi network. This makes isolation easier and helps you practice networking skills. You don't need VLANs on day one. Even a separate lab Wi-Fi SSID is a big step in safety and realism. If networking is your weak spot, Tier 2 upgrades pay off. They make concepts like segmentation and routing feel concrete.
What to install in your beginner cybersecurity home lab
A beginner lab should be simple. You want a small set of systems that teach core skills repeatedly.
1) Virtualization (pick one and commit)
Virtualization lets you run multiple computers inside one computer. It's the foundation of a cheap lab.
Beginner-friendly choices:
- VirtualBox (free and widely used)
- VMware Workstation Player (often free for personal use)
- Proxmox (great on a dedicated mini PC)
Pick one tool and learn it well. Your goal is fast VM creation, snapshots, and safe networking modes.
2) Your core machines (a strong starting set)
Start with two operating systems and one training target. That's enough to learnthe fundamentals deeply.
A solid set looks like this:
- Ubuntu Linux VM (your "admin" and learning machine)
- Windows VM (endpoint behavior and event logs)
- A vulnerable target (a training web app or intentionally vulnerable VM)
This mix teaches you both sides of the house. You learn how systems should be configured and how they break.
3) Legal training targets (portfolio-friendly and safe)
Use targets designed for learning. They reduce risk and keep your practice ethical.
Good options include:
- OWASP Juice Shop (web app security)
- DVWA (classic web vulnerabilities)
- Metasploitable (intentionally vulnerable VM)
Keep targets inside your private lab network. Don't expose them to the public internet, even "just for a minute."
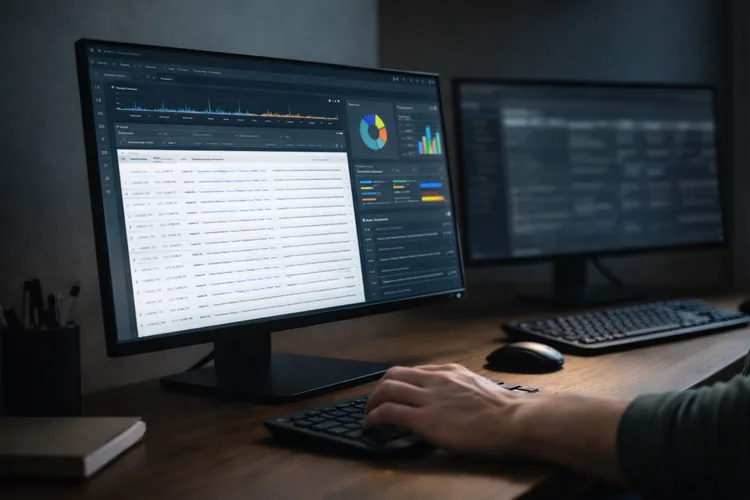
4) Defensive visibility tools (so you can prove job skills)
If you want employer-ready experience, add logging and investigation. This is where many beginner labs level up.
Start small with:
- Windows Event Logs (built-in and valuable)
- Sysmon (high-signal endpoint telemetry)
- A simple log collection stack (open-source options exist)
The goal isn't perfection. The goal is to be able to answer, "What happened?" with evidence.
The safest network settings for beginners (plain English)
Networking is where people accidentally make unsafe mistakes. A single wrong setting can expose a vulnerable VM to your home network.
NAT
NAT lets your VM reach the internet for updates, while staying mostly hidden from other devices. It's usually a safe default for learning. Use NAT when you want to install packages or download tools. It's also helpful when you're not ready to manage routing manually.
Host-Only
Host-Only keeps traffic between your host computer and your VMs. It's excellent for practice because it blocks internet exposure. Use Host-Only when running vulnerable targets. It reduces risk and encourages controlled testing.
Bridged (avoid at first)
Bridged mode puts your VM on the same network as your real devices. That can be dangerous if the VM is intentionally vulnerable. You can use bridging later when you understand segmentation. For now, keep your lab off your everyday network.
Step-by-step setup you can finish in a weekend
This process is designed to be beginner-proof. It gives you a working lab quickly and leaves room to expand.
Step 1: Check your computer can virtualize
Most modern computers support virtualization, but it's sometimes disabled. You may need to enable it in BIOS/UEFI settings. Once enabled, install your virtualization tool and restart. This prevents troubleshooting headaches later. Plan to start with only two VMs running at once. You'll get better results with a stable lab than an overloaded machine.
Step 2: Create a simple lab network
Create one private network that your VMs will share. Choose NAT or Host-Only depending on whether you need internet access. Name it something obvious like "LAB-NET." Clear naming makes screenshots and portfolio documentation easier later. Keep a small notebook or file with your IP ranges and VM names. Organization becomes a skill employers respect.
Step 3: Build your Ubuntu VM
Install Ubuntu and create a standard user account. Update the system and install basic tools like curl, git, and a text editor. Take a snapshot called "Ubuntu-Clean." This is your restore point if anything breaks. Ubuntu becomes your "admin box." You'll use it for networking tests, scripting, and documentation.
Step 4: Build your Windows VM
Install Windows and run updates. Turn on basic security settings and create a local user for lab activity. Enable logging so you can see meaningful events. Windows Event Viewer alone can teach you a lot about system behavior. Take a snapshot called "Windows-Clean." Snapshots turn scary experiments into safe learning.
Step 5: Add one vulnerable target (keep it contained)
Pick a single target like OWASP Juice Shop. Run it in a container or in its own VM inside your lab network. Confirm you can access it from Ubuntu and Windows. That "connectivity check" proves your lab wiring is correct. Do not publish this target online. A portfolio does not require public exposure of vulnerable services.
Step 6: Add visibility (your portfolio multiplier)
Install Sysmon on Windows if you want richer endpoint data. Keep configuration reasonable and don't overwhelm yourself with noise. Choose one way to collect and view logs. Even basic central logging makes your lab feel like a real environment. Take a snapshot called "Baseline-Logged." This gives you a clean starting point for investigations.
Beginner exercises that are legal and portfolio-friendly
The goal of exercises is not "maximum hacking." The goal is to learn repeatable skills and document them clearly.
Exercise 1: Build an asset inventory (the underrated pro skill)
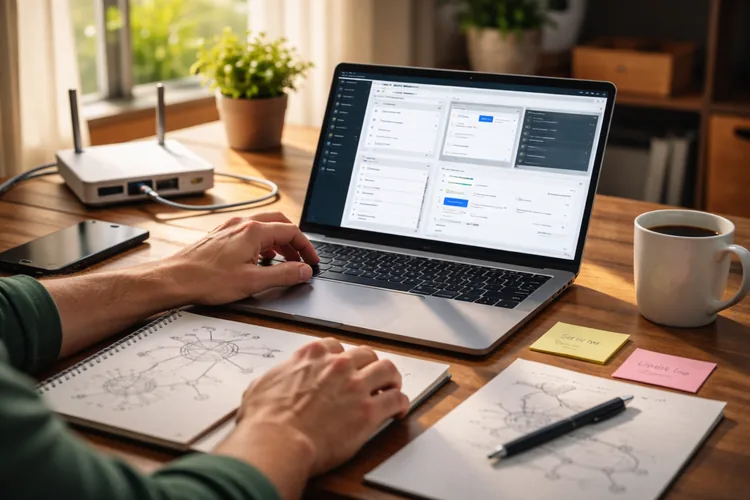
List every VM, its OS, IP address, and purpose. Create a simple diagram showing how machines connect. Add a short README that explains your lab scope. Include a line that states you only test systems you own. This is the kind of documentation junior analysts do every day. It's simple, but it shows professional habits.
Portfolio output: diagram + inventory table + README.
Exercise 2: Hardening basics (defender skills win interviews)
Choose one VM and harden it. Turn on the firewall, remove unused services, and apply updates. Record what you changed and why. If something breaks, note how you fixed it. Hardening teaches you what "normal" looks like. You can't spot suspicious behavior if you don't understand baseline behavior.
Portfolio output: before/after notes + screenshots + a short "hardening checklist."
Exercise 3: Web app security practice (without touching real sites)
Use your vulnerable training target to explore common web risks safely. Focus on understanding, not on "gotchas." For each issue, write two sentences: what the risk is and what a fix would look like. Employers love people who think about remediation. Keep write-ups educational and scoped to your lab. Avoid publishing step-by-step content that could be misused outside training environments.
Portfolio output: 2-3 challenge write-ups + a remediation summary.
Exercise 4: Create a mini incident and investigate it
Simulate a small event in your lab, like a suspicious login or a new admin user creation. The n investigate using logs and timelines. Write down what evidence you found and what you didn't find. That honesty is a rational skill. Finish with recommendations, even if they're basic. "Enable MFA" and "monitor admin actions" are valid early lessons.
Portfolio output: a one-page incident report + evidence screenshots.
Exercise 5: Vulnerability management mini-cycle (real-world workflow)
Run a scan against your lab target using a legitimate scanner in your own environment. Focus on learning how results are prioritized. Pick one or two findings and fix them. Then rescan and show the improvement. This exercise teaches you that security work is often "identify -> prioritize -> remediate -> verify." That's a job-ready process.
Portfolio output: scan summary + prioritized list + before/after verification.
How to turn your lab into a portfolio employers will actually read
A portfolio is only helpful if reviewers can understand it quickly. Most hiring teams spend minutes, not hours. Create one GitHub repository for your lab projects. Keep it clean, scoped, and easy to navigate.
A simple repo structure that works
Use folders that match how security works is organized. That makes you look like someone who understands professional workflows.
A practical structure:
README.md(scope, goals, and what you built)/diagrams(network diagrams)/configs(sanitized configs, no secrets)/writeups(short case studies)/reports(incident reports and summaries)/screenshots(evidence, clearly named)
Add an "Ethics & Scope" section in the README. State clearly that all work is performed in your private lab.
What makes a project portfolio-friendly
Portfolio-friendly means it demonstrates thinking, not just tool usage. It shows your process, your evidence, and your conclusions. Aim for projects that answer: "What did you do, what did you learn, and what would you do next?" That's interview gold. Keep each write-up short and structured. Hiring teams love clarity more than complexity.
Common mistakes beginners make (and the fixes)
Mistake: Putting vulnerable targets on the same network as personal devices
Fix it by using NAT or Host-Only networks. Treat bridged mode as an advanced topic. If you add physical equipment later, put lab devices on a separate Wi-Fi network. Separation is a real-world security principle.
Mistake: Installing too many tools and learning none
Fix it by choosing one goal and one project. Finish something small, then expand. You don't need ten hacking tools to be employable. You need fundamentals and proofthat you can apply them.
Mistake: Skipping documentation until "later."
Fix it by documenting every session with five bullets. Those bullets become your portfolio over time. Even one screenshot and one paragraph per exercise adds up fast. Consistency beats intensity.
Mistake: Not using snapshots
Fix it by snapshotting at every milestone. Snapshots are your "undo" button. If you're afraid to break things, you'll avoid experimenting. Snapshots remove that fear.
A realistic 30-day learning plan using your home lab
Week 1 should be about setup and comfort. Learn how to build, snapshot, and network your VMs reliably.
Week 2 should be about fundamentals. Practice networking basics, OS commands, and reading logs without chasing advanced topics.
Week 3 should be about one defender project. Build a simple detection, trigger it safely, and investigate it.
Week 4 should be about one portfolio write-up. Turn your notes into a clean GitHub project with diagrams and a short report.
This plan is designed for busy adults. Even 30-60 minutes a day can create real progress if your lab is stable.
Where Code Labs Academy fits in (when you want structure and momentum)
A home lab is an excellent self-learning engine, but many career switchers get stuck on "What should I learn next?" and "Is this job-relevant?" That's where a structured program can help you move faster with fewer dead ends. Code Labs Academy's online bootcamps focus on job-ready skills, portfolio projects, and guided learning.
You also get career support that's hard to replicate alone, like mentoring and Career Services (CV and LinkedIn refresh, mock interviews, and a tech-focused job-search strategy).
If you want a roadmap, you can view the Cyber Security Bootcamp curriculum, book a call with an advisor, or apply online when you're ready. Your lab won't replace a curriculum, and a curriculum won't replace practice. Together, they can be a strong combination.
Quick checklist: your first "finished" lab milestone
You're "done" with the first version of your lab when you can do these confidently. This is a great checkpoint for beginners.
You should be able to:
- start and stop VMs without errors
- explain your network mode (NAT or Host-Only)
- Access a training target from another VM
- take and restore snapshots
- Collect at least one type of log evidence
- publish a README with scope and ethics
If you can do that, you're no longer "just starting." You're building professional habits.
Conclusion: build small, stay legal, and document everything
A beginner cybersecurity home lab is one of the smartest investments you can make when entering the field. It gives you a safe environment to practice, break things, learn, and reset.
Keep your lab cheap and simple at first. Focus on fundamentals, one or two realistic exercises, and clear documentation. Then turn those exercises into a portfolio that hiring teams can review quickly. A clean repo, short reports, and evidence-based thinking make you stand out.
When you're ready to accelerate with structure, projects, and career support, explore Code Labs Academy's bootcamps and apply. If you have questions first, contact the team or book a call.